After the trouble on the 25th, ‘The Toad’ needed to be put back together again. Of course the obvious initial solution would be to stick a piece of tape over the hole and keep sailing. However that solution would persist for some time until the boat was brought home. Seeing I needed the trailer to get the mast to and from the club I decided to bring the boat home as well.
The hole hadn’t damaged any of the structural parts of the boat, but had come very close.
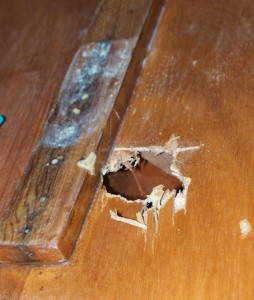
If you look through the hole in the above photo (the straight mark is a cut I had already made). Just behind the back of the hole is a small support beam that supports the mast step. The first step was to neaten up the hole. I did this by cutting up the hole square.

Unfortunately I was unable to leave any of the existing wood alongside the mast step. The mast step is supported underneath by several structural support and doesn’t gain any strength from the plywood next to it.
To support the new piece of wood in the boat I cut a supporting piece of marine ply to be placed behind the hole to support the new piece in the deck. This was epoxied into place. With the colder weather I used the West System with the fast hardener. Due to the colder weather I had the place a work light nearby to allow the epoxy to harden properly.
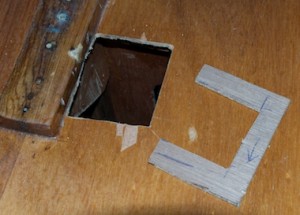
Note the arrows showing which way the piece should fit into the hole. This is important when you are in the process of gluing and clamping the piece. You don’t want to be worrying about which way things need to go when everything is covered in epoxy.
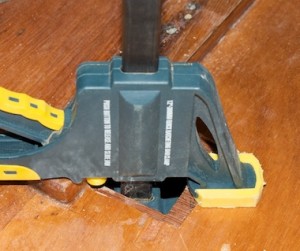
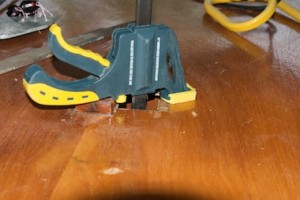
One worry when clamping the support into the boat was that the epoxy would squeeze out and permanently attach the clamp to the boat. Luckily after a day I removed the clamp and it came out of the boat and the support piece stayed in the hole. Steve Dunn has noted that mistakes with epoxy can be rectified with a little bit of cautious heat from a heat gun. After a bit of heat the epoxy will soften and mistakes can be removed and re-glued.
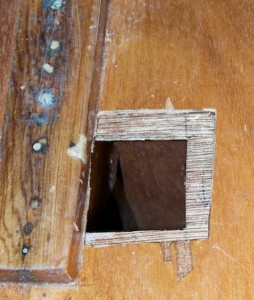
With the support piece in place the new bit of deck could be cut out. I cut the new piece for the deck slightly large than was needed and then filed the sides down until it fitted snugly.
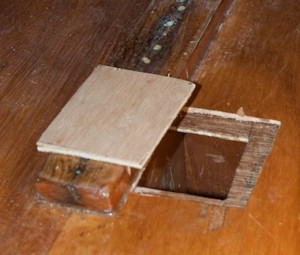
You can’t see it in the picture but again the piece has markings on the back to make sure the orientation is correct when gluing everything. In this case the piece had epoxy applied on the back and the support piece had epoxy applied as well. I don’t have pictures of the epoxying process as epoxy and cameras don’t mix!
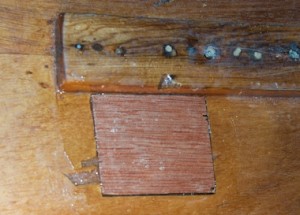
Here the final piece is in place. There is a small gap around piece and this will be filled with bog.
Leave a Reply