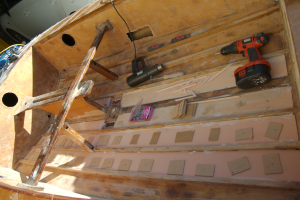
Luckily before I sprayed the ‘top coat’ on the bottom of the boat (if that make’s sense) I talked to the guys at the club about how to put the foam in the cockpit floor of the boat. It turns out that the best way is lay the foam and epoxy it in place. The easiest method for securing the foam to the floor is to screw it down with self tappers.
Â

Â
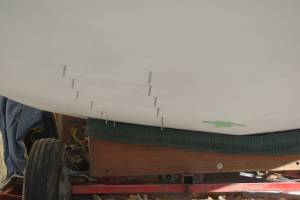
This leaves you with the following porcupine effect on the bottom of the boat:
Â

I am sure that this is going to be a fast look, everyone is going to be doing it! One thing that I nearly forgot, when you screw through the floor of the boat like this, don’t try to move the boat from side to side on the trolley because you have probably screwed through into the trolley.
With this the bottom is going to need to be faired and all the holes patched. Sounds like more sanding for me!
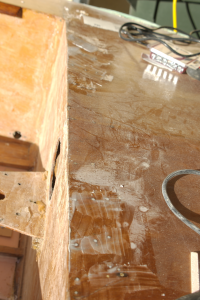
If you look closely at the top picture you will also see a large patch cut out of the side of the boat. While stripping the varnish and epoxy from the boat I remove the fibreglass tape and bog from a previous repair. It looks like the side tank was kicked quite hard (something impulses are susceptible to) and the existing repair was to simply bog over the crack. I removed this and will replace with another piece of plywood. There is also a crack running from the section I cut out along parallel with the floor to the head of the drill in the boat. From there the crack runs up the sidetank. At this stage I am not tackle replacing everything but it is leaning me towards painting the entire cockpit except for the thwart and centreboard case.Â
The foam is stuck down with epoxy mixed with filler (West Microspheres) and this gives me an opportunity to patch some of the other holes around the boat.Â

I am probably going to move the cleats for the control lines further out so these exists holes will no longer be needed.
Leave a Reply